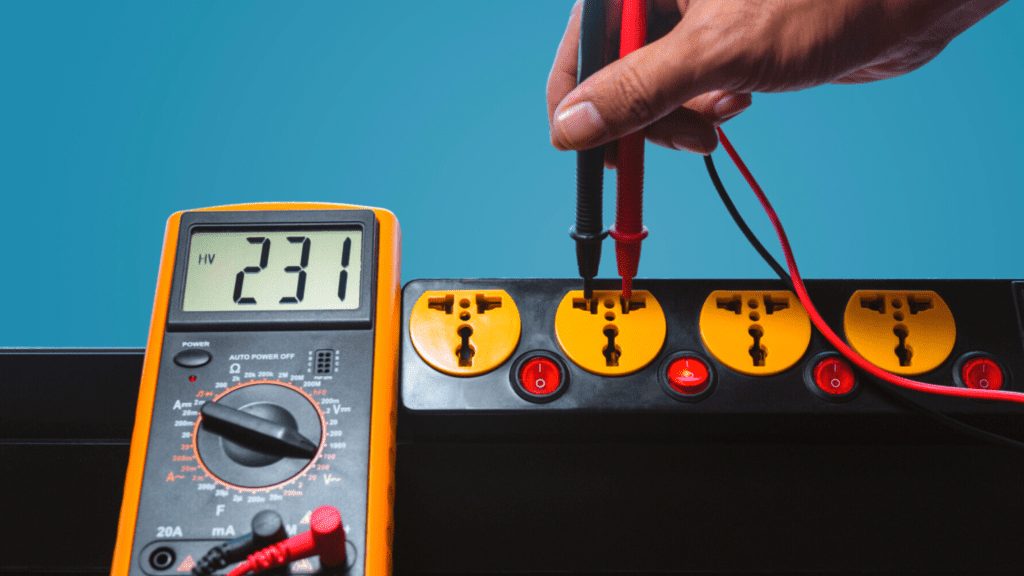
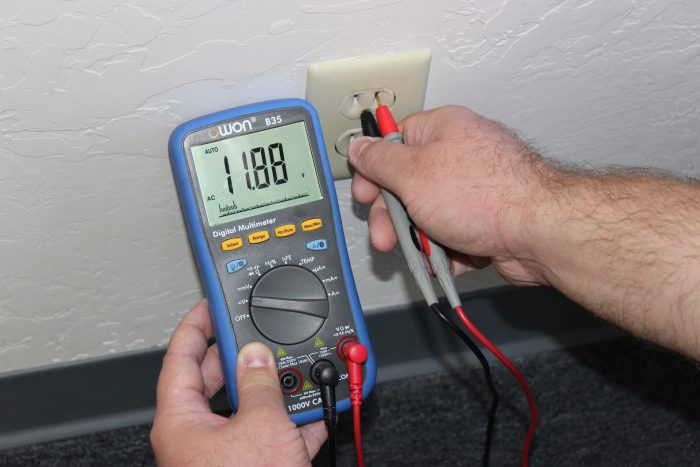
If you are interested in testing an outlet but are unsure how to check outlet ground with multimeter, worry not. In this article, you will be able to read everything you need to know regarding checking your outlet with a multimeter in the most straightforward way possible, so ensure to read this article until the end.

How to Check Outlet Ground With Multimeter
Although most of the outlets today are grounded, checking them to see whether the grounding was done properly is crucial for your safety. As the quality of the electrical systems should always be at the highest levels and your main priority, everyone needs to learn how to check outlet ground with multimeter and therefore stay safe.
As I know that this might sound scary as an extremely complicated thing to do, by following the provided instructions, I guarantee you will not encounter any problems. You will be able to check outlet ground with a multimeter in no time and assure that the electrical systems in your home are functioning properly and perfectly.
What can a multimeter tell about the outlets?
Before continuing on the instructions on how to check outlet ground with multimeter, I would first like to pay attention to the things that a multimeter can help you determine. By knowing this information, the next time you use your multimeter, you will know exactly what to look for, and you will be able to read the results like a professional.
Power
The first and foremost thing that a multimeter can help you determine is whether power is actually reaching the particular outlet you are testing.
Grounding
The second thing a multimeter can tell is whether the particular outlet is properly grounded, which we will discuss more in the continuation of this article.
Wiring
Finally, the third thing that a multimeter can help you determine is whether the wiring within the outlet is reversed.
How to check outlet grounding with a multimeter – step-by-step instructions
Prepare for the testing
Before you start measuring, there is one thing you need to be aware of. Namely, you will need to ensure your safety by holding the two-meter probes in the same hand. Doing this will prevent the shock from passing through your body.
Additionally, you must constantly pay attention to the metal parts of the probes not brushing each other because this may result in a dangerous short circuit.
Insert the probes in the multimeter
After ensuring that you are safe, the first thing you need to do to check the outlet ground with a multimeter is to insert the probes in the multimeter. The right way to do this is first to take the red (positive) probe and plug it into the multimeter port labeled “Ω”, “V”, or “+”. These labels can differ regarding the brand and type of multimeter you have, but they are usually one of the three signs above.
Then, you need to take the black (negative) probe of the multimeter and plug it in the multimeter port labeled as “COM” or “-”. Also, the name of the port will vary depending on the type or brand of multimeter you have.
After doing so, I would only want to point out that you need to pay extra attention to the quality of the leads. More specifically, you need to ensure that the leads are in good condition and that you do not mix them up at the multimeter to avoid any potential damage. The reason behind this is that you would be testing hot wires (the wires that carry electricity), which can represent a potential danger.
Set the multimeter to the proper voltage
After you insert the probes in the multimeter, the next step in checking the outlet ground is to set the multimeter to the proper voltage. As your home appliances run on the altering current, also known as AC, it is only logical that this is the type of voltage that all of your outlets give out.
To set the multimeter to the AC voltage setting, you will need to simply turn the multimeter dial to the altering current (AC) setting. This setting is usually represented with the abbreviations “V~” or “VAC”, depending on the model of your multimeter. Doing this will give you the most accurate reading, so always remember never to skip this step.

Measure the voltage between neutral and live ports
To measure the voltage between the neutral and live ports, you will need to place the negative (black) probe in the neutral part and place the positive (red) probe in the live outlet port. If you are not sure which port is which, the neutral port is the longest, and the live port is usually the smaller of the two ports.
After completing this testing, you should write down the measurement, as you will need it for further comparison.
Measure the voltage between the ground and the live ports
The next thing you need to do is take out the black probe from the neutral outlet and place it into the earth port. Ensure that the red probe remains in the same position in the live port.
Another thing you need to ensure is that both of the probes are making contact with the metal components inside the ports so that your multimeter can actually perform the reading. Then, take these measurements as well, and continue to the next step.
Measure the voltage between the ground ports and neutral ports
The final measurement you need to take is between the ground and neutral ports. To perform this measuring, you will need to place the black probe into the earth port and place the red probe into the neutral outlet port. Take the measurements again.
Evaluating the results
- If the measurement between the ground and live ports is close to 0, your home might not be grounded properly.
- If the measurement between the neutral and live ports is not the same or within 5V of the result of the live and earth ports measuring, your home may not be grounded properly.
- If there is a grounding and the results from the neutral and live test show 120V, it is expected for the earth and live test to show a result of 115V to 125V
